

TAC Event Guide
You will find a general guide to the entire event here. Hopefully, it will give you a better overview after reading through it. 🙂
Part 1: How do we operate
Below are the basic operations you need to know to play the event. ⚔️📖
1. Set up
You will need to set up 3 marches in the TAC UI page.
For suggestions on choosing heroes, you may want to check out our Tips: "Which Heroes Should I Choose?"
Click the link below to access it. 👇

2. March
We can control our 3 marches to move between buildings. Buildings are connected to each other, and you can only march to a building if there is a path to it. A path means a connected route through our territory (blue).

There are 4 ways to march:


3. Healing
You can heal your troops using Conscript and revive them using Revive.


Be aware that all of these actions consume energy (The blue energy cost⚡ shown in the GIFs above.) . Our R4s ,R5s and the 2 assigned legion commanders will carefully manage energy usage so that we can use it as efficiently as possible.
Managing energy means assigning Captains (a special position that increases energy regeneration) after capturing certain buildings.
There are three Captain quality levels, each providing a different energy regeneration rate: Blue🔹, Purple🟣, and Gold🟡.
Below, you can find which buildings grant each type of Captain position and the energy regeneration they provide. ⚡
Part 2: Buildings
Here you can find an overview of all buildings, including their properties and capture points. 🏰📊
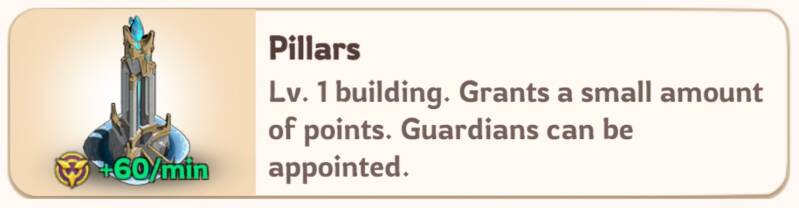


Here is an overview map of all the buildings: 🗺️🏰

Part 3: Battle Phases
Phase 0: Preperation (0 ~ 3 minutes)
You can check the map and take a look of opponent power.

Phase 1: Seize & Conquer (3 ~ 20 minutes)
All buildings except the Garrisons (the 3 buildings near the center) and the Temple (the center building) will be open. We should occupy as many buildings as possible, so we need to spread out.
To achieve this, we will divide our players into 2 teams. A label for each team will be placed on 2 different buildings. Each team should march toward its assigned label as quickly as possible.
Click the link below to find out which team you are assigned to.
Click the link below to understand our route plan of a single team.
You can use the images on the right side to see which buildings will be open during this phase.

Phase 2: Garrison Occupation (20 ~ 40 minutes)
Now the 3 Garrisons will open. We should defend our own Garrison and hopefully our teams are able to attack and capture the two Garrisons in enemy territory.
Please follow the labels to determine your actual movements during the battle.
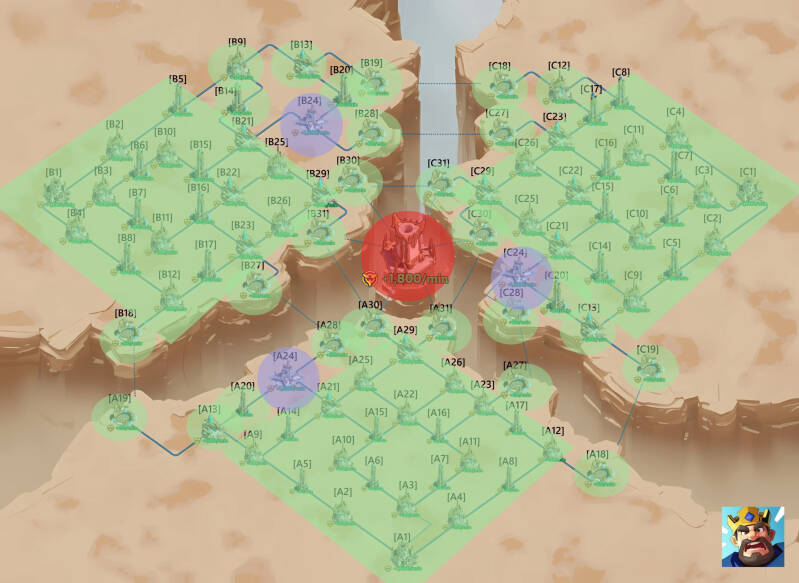
The image on the right side shows that the 3 Garrisons (the 3 in blue purple) will be open during this phase.

Phase 3: Temple Occupation (40 ~ 60 minutes)
Finally, the Temple (the center building) will open, and heavy battles are expected there. Generally, we will try to capture it as soon as possible, but the plan may change depending on the situation.
Please pay attention to the labels during the battle to see whether your team should move to the Temple or focus on other buildings.
The image on the right shows that all buildings are open during this final stage.
Part 4: Rewards
We also have some important tips to help you maximize your personal rewards. Take a look at the following link: 😊
Create Your Own Website With Webador